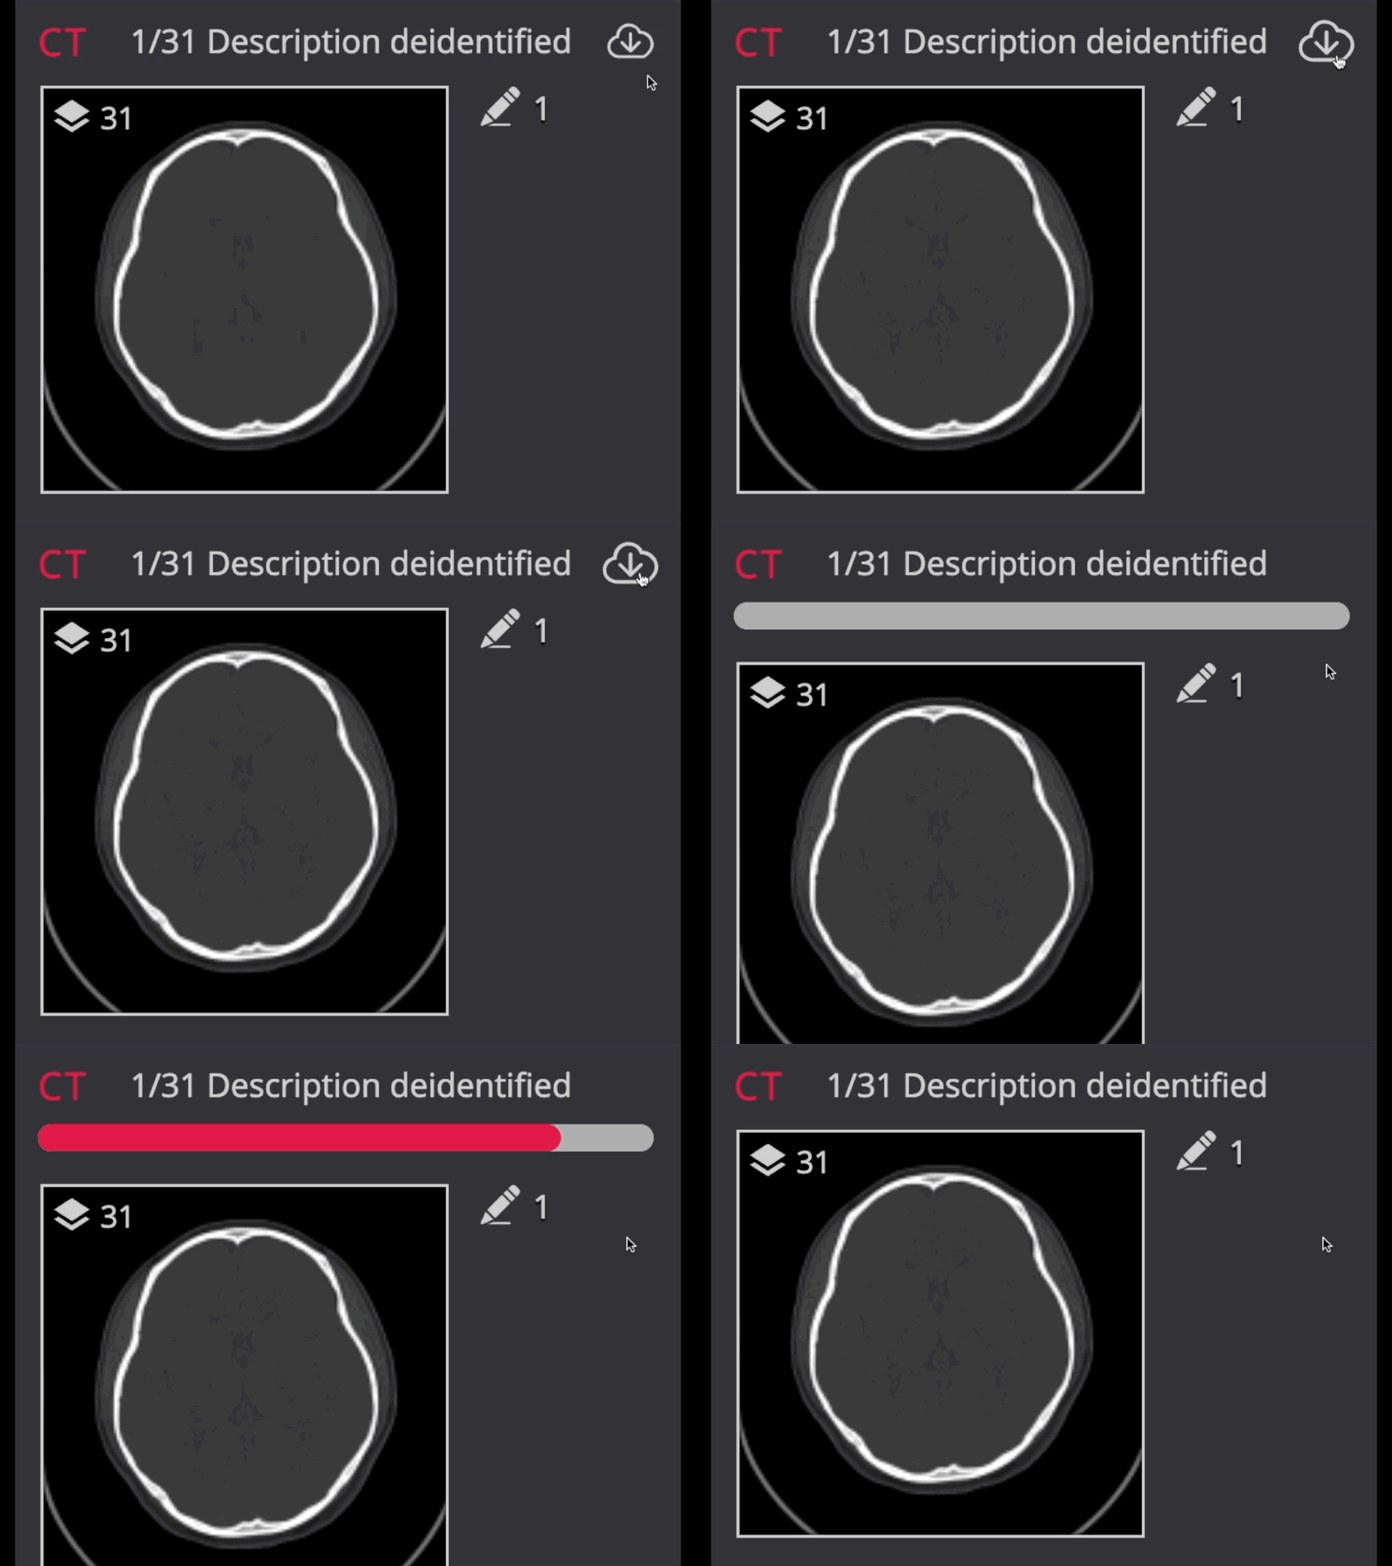
Adding a video review to your case can bring a new level of understanding and knowledge for users. A well-recorded video allows you to highlight key findings, explain your thought process, and share case insights more dynamically.
Follow these practical steps to create professional video reviews for your cases:
Before Recording Your Video:
- Close Unnecessary Programs: Close all applications except your Chrome browser and/or recording software.
- Set Up Screen Recording: Use screen recording software to capture your browser screen with CMRAD.
- Enlarge the browser to full-screen

Prepare Your CMRAD Case:

- Open the DICOM viewer and Preload the study in full.
- Arrange a preferred viewport layout eg. 1x1 before starting.
- Familiarise yourself with any keyboard shortcuts and tools like windows, measurements, and magnify, and learn how to quickly erase any interactions.
Recording Your Video
Tip: Make a quick test recording to practice and ensure that the audio and screen setup are working perfectly.
- Start your Recording and Present the Case:
- To highlight key findings, use presenter tools in the viewer such as fading arrows and fading lines.

- For best visibility, use a 1x1 layout whenever possible.
- Keep in mind that the mouse pointer may appear small on certain devices or layouts once the recording is added to the DICOM viewer with the study, so utilize presenter tools, magnifier, zoom, pan, and 1x1 layouts to emphasize important details.
- To highlight key findings, use presenter tools in the viewer such as fading arrows and fading lines.
- Save Your File in MP4 format. Aim to keep the video recording to around 5 minutes or less in length.
- If you need assistance with converting and adding the video to your case, please contact support@cmrad.com. Be sure to include the case link in your request.
- When an MP4 is converted to DICOM, the file is added to the published case via the "Add Study to Case" button. To learn more, visit this link.
